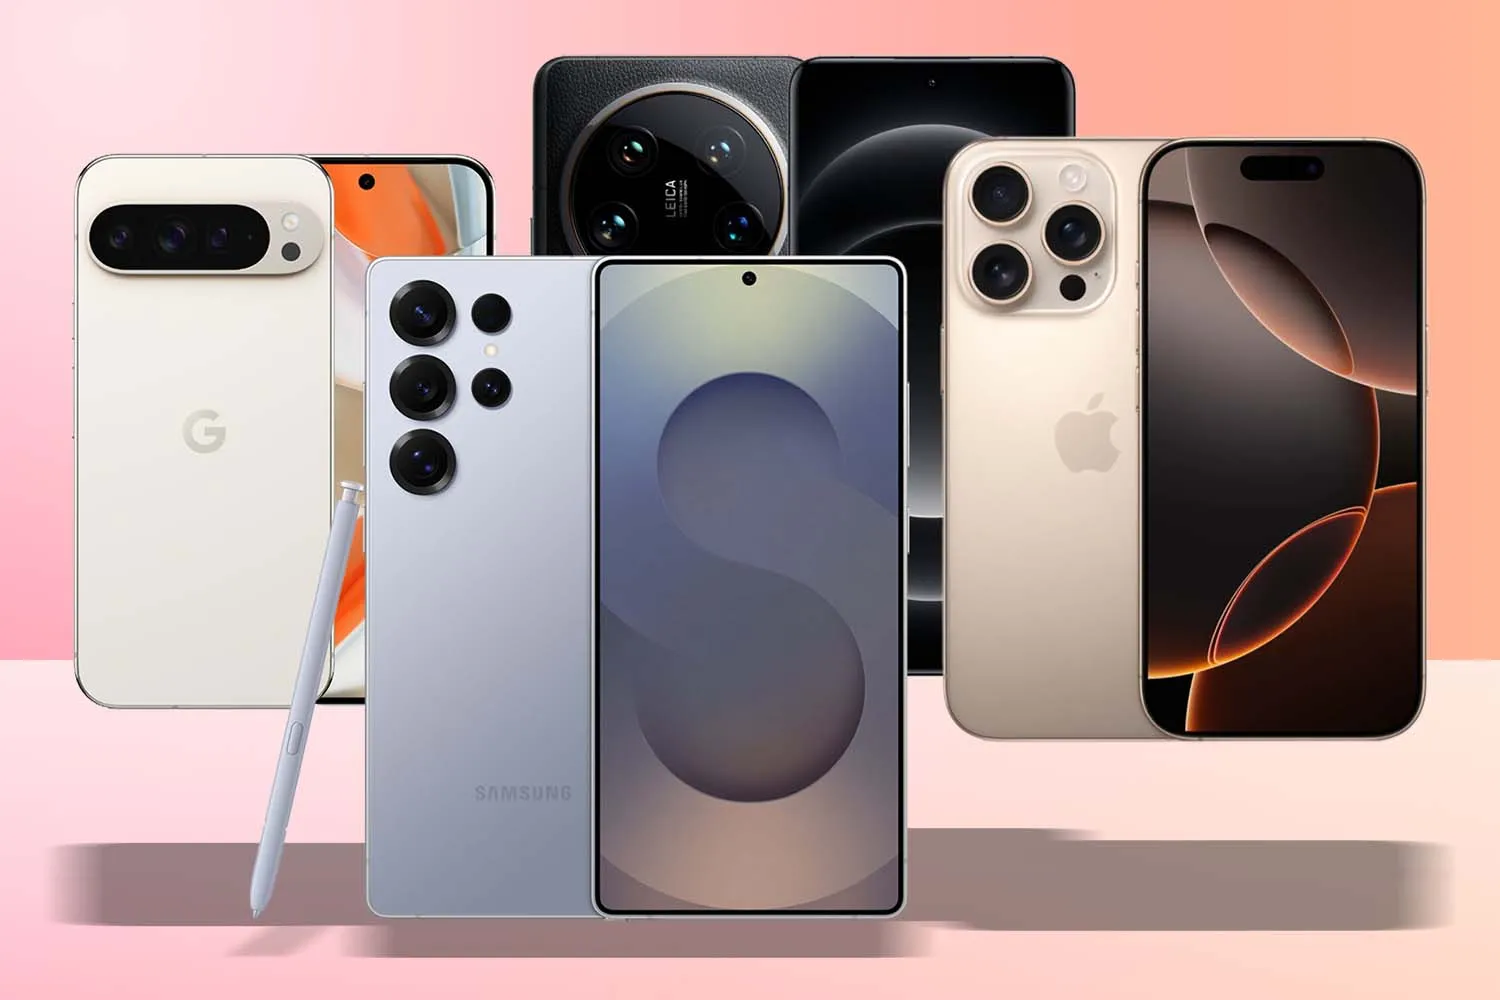
Smartphones have become an essential part of our daily lives, and one of their most valued features is the camera. Whether capturing memorable moments, scanning documents, or engaging in video calls, a smartphone camera plays a crucial role in everyday activities. However, like any other component, phone cameras can develop issues over time. If you’ve noticed blurry photos, black screens, or malfunctioning autofocus, your camera may be failing. The good news is that phone diagnostic software can help you identify and troubleshoot these common issues effectively.
Signs That Your Phone Camera Is Failing
Before diving into diagnostics, it’s important to recognize the common signs that indicate your phone camera might be experiencing issues:
- Blurry or distorted images: Photos appear out of focus even when taken under optimal conditions.
- Black screen when opening the camera app: The camera app fails to load or displays a black screen.
- Camera app crashing: The app force-closes whenever you try to open it.
- Unresponsive autofocus: Your phone struggles to focus on objects, making photos look unclear.
- Flash not working: The camera flash does not turn on even when enabled.
- Grainy or noisy photos: Poor image quality even in good lighting conditions.
- Camera switching issues: Inability to switch between front and rear cameras.
If you are experiencing any of these problems, phone diagnostic software can help pinpoint the root cause and guide you in fixing the issue.
How Phone Diagnostic Software Can Help
Phone diagnostic software is designed to evaluate various hardware components, including the camera, and identify any underlying problems. These tools conduct a series of automated tests to check the functionality of your phone’s camera and offer potential solutions. Here are some key ways they can help:
1. Camera Hardware Testing
Many diagnostic apps assess the health of your phone’s camera hardware. They check for:
- Lens clarity
- Autofocus functionality
- Flash operation
- Image sensor responsiveness
Popular apps like Phone Doctor Plus, TestM, and Phone Check and Test can perform these tests and help determine if your camera has hardware defects.
2. Software and App Conflict Detection
Sometimes, camera issues are caused by software conflicts rather than hardware failure. Diagnostic tools analyze the installed applications and settings to detect:
- Conflicting third-party camera apps
- Outdated software causing glitches
- Malware or corrupted files affecting camera performance
3. Image Quality Assessment
A good diagnostic tool can also evaluate image quality by analyzing resolution, color balance, and sharpness. This helps determine whether the issue is related to hardware degradation or incorrect camera settings.
4. Sensor Functionality Check
Some phone diagnostic software can assess whether your phone’s gyroscope and accelerometer (which help with image stabilization) are functioning correctly. If these sensors are faulty, your camera may struggle to stabilize images, resulting in blurry photos.
Steps to Diagnose and Fix Common Camera Issues
Now that you know how diagnostic software can help, let’s go through some steps to diagnose and possibly fix common camera issues.
Step 1: Use a Phone Diagnostic App
Download a reputable diagnostic app like Phone Doctor Plus or TestM and run a full camera check. Follow the app’s recommendations to determine whether the issue is hardware-related or software-induced.
Step 2: Restart Your Device
A simple restart can fix minor software glitches affecting the camera. Power off your device, wait for a few seconds, and turn it back on to see if the issue is resolved.
Step 3: Clear Camera App Cache and Data
If your camera app is crashing or displaying errors, clearing the cache and data might help. Here’s how:
- Go to Settings > Apps > Camera
- Tap on Storage & cache
- Click Clear cache, then Clear data
- Restart the phone and check if the camera works
Step 4: Update Your Phone’s Software
Outdated software can cause compatibility issues. Check for software updates by going to:
- Settings > Software Update
- Download and install any available updates
- Restart your device and test the camera again
Step 5: Boot in Safe Mode
Some third-party apps can interfere with the camera. To check if an app is causing the problem:
- Boot your phone into Safe Mode (press and hold the power button, then tap and hold “Power off” until you see “Safe Mode”)
- Open the camera and see if it works
- If the camera functions normally in Safe Mode, uninstall any recently installed apps that might be causing the conflict
Step 6: Test Camera Hardware
If software fixes don’t work, use a phone diagnostic tool to run a hardware test. If the test indicates a hardware failure, your best option is to visit a professional repair service.
When to Seek Professional Help
If you have tried all the troubleshooting steps and your camera still doesn’t work, it might be time to consult a technician. Hardware damage, such as a broken lens or malfunctioning sensor, typically requires professional repair. If your phone is still under warranty, check with the manufacturer for repair or replacement options.
Final Thoughts
Phone diagnostic software is an excellent tool for identifying and troubleshooting camera problems. Whether you’re dealing with blurry images, app crashes, or hardware malfunctions, these tools can provide valuable insights and solutions. By using diagnostic apps, performing basic troubleshooting steps, and knowing when to seek professional help, you can keep your smartphone camera in optimal working condition.
Next time you experience camera issues, don’t panic—try a phone diagnostic tool and take the necessary steps to restore your camera’s functionality!


