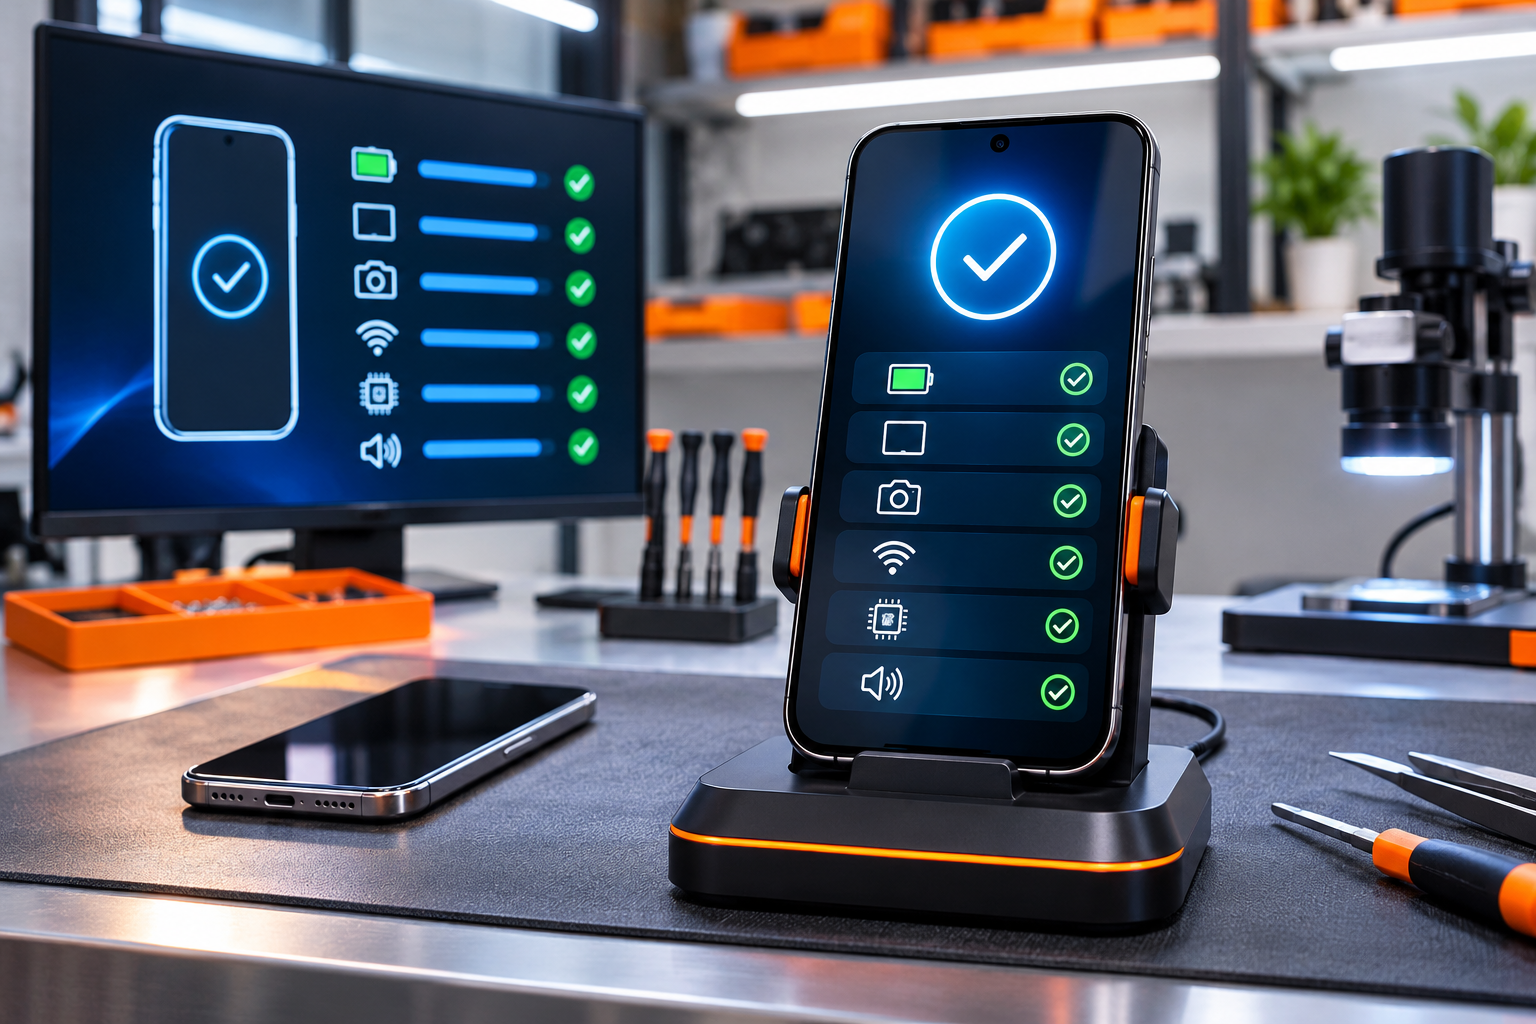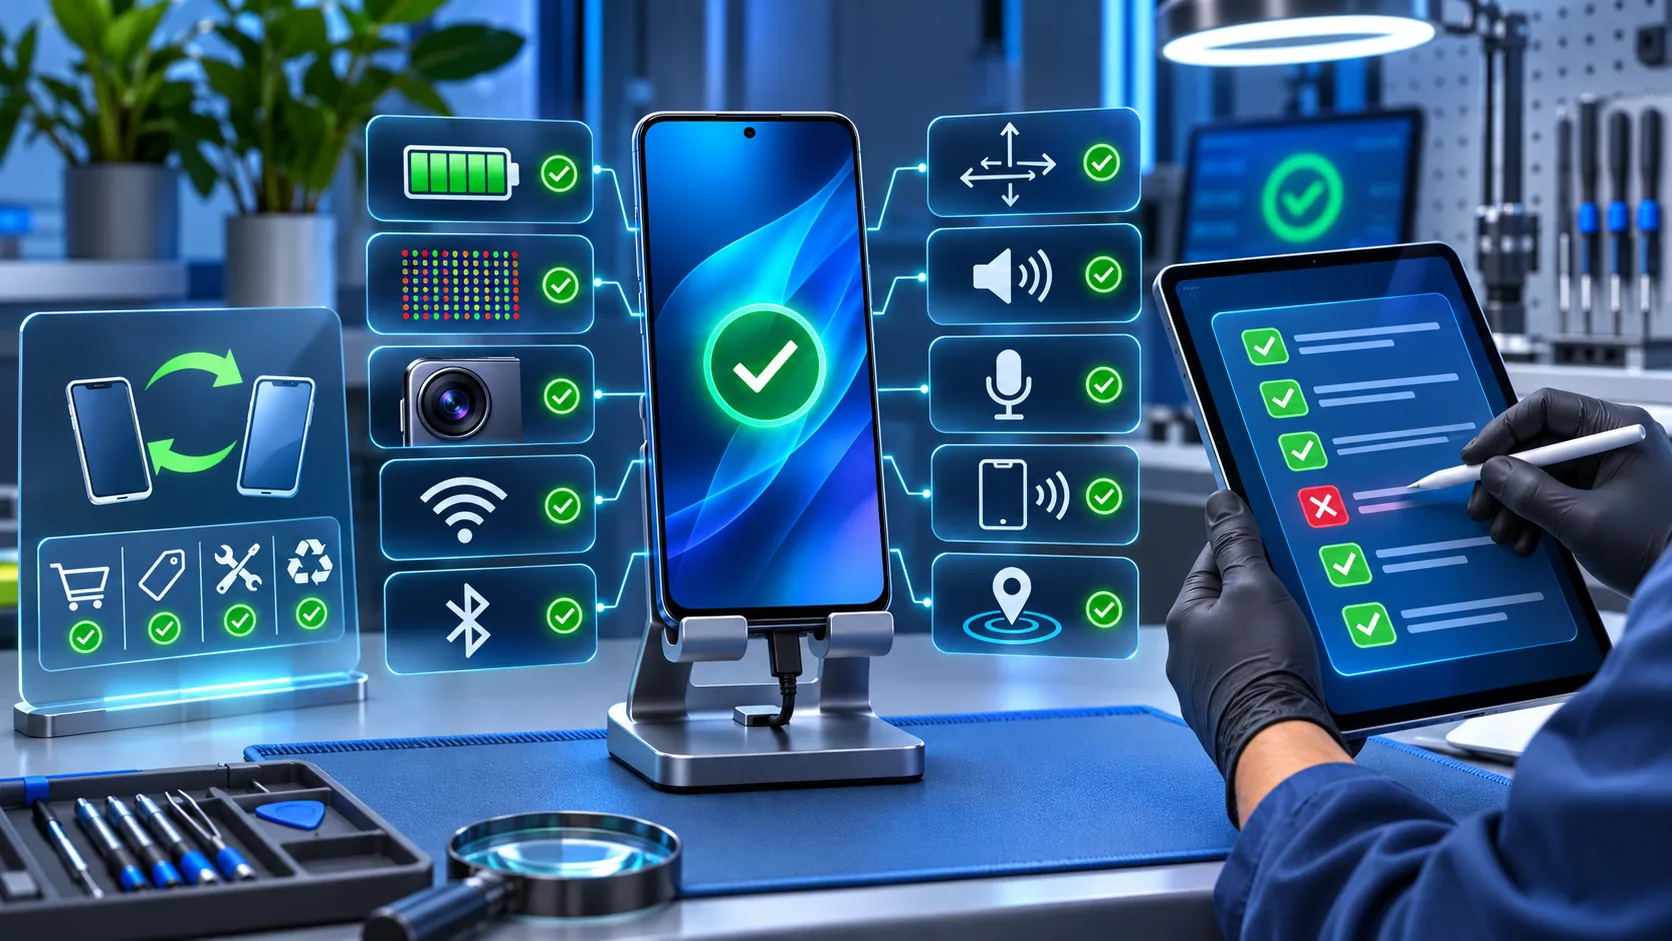
Phone diagnostics software for repair shops make it easier to find hidden faults, explain repair decisions, and return every device with a clear record of what was tested. A phone can look clean and still have a weak battery, dead pixels, unreliable microphones, or a sensor that fails only under specific conditions. A repeatable diagnostic workflow gives your team evidence before a repair begins and confidence before the device goes back to a customer.
For repair shops, refurbishers, and retailers, the goal is not simply to mark a phone as “good” or “bad.” The goal is to identify the exact component that needs attention, document its condition, and move the device through the bench faster without replacing careful testing with guesswork.
What are phone diagnostics for repair shops?
Phone diagnostics are structured tests that check a smartphone’s hardware and software functions. Instead of relying on a customer’s description or a quick visual inspection, technicians use a consistent sequence to test the components most likely to cause a complaint.
A practical workflow can cover battery health, charging input, display glass, brightness, pixels, touch response, cameras, buttons, Face ID or biometrics, speakers, microphones, vibration, Wi-Fi, Bluetooth, NFC, GPS, and motion sensors. The exact test list may vary by model, but the principle stays the same: every device should be evaluated against the same standard.
Why a repeatable testing process matters
In a busy repair environment, inconsistent testing creates avoidable problems. One technician may check the camera while another forgets the microphone. A device may leave the shop with a fault that was present at intake but never recorded. When the customer returns, the team spends more time debating what happened than solving the issue.
A repeatable process improves three areas at once. It gives technicians a clear starting point, gives managers a dependable quality-control record, and gives customers a more transparent explanation of the work. It also makes training easier because new staff can follow the same order instead of learning through trial and error.
7 diagnostic areas every repair shop should check
- Intake and physical condition: Record the model, serial or inventory reference, visible cracks, dents, frame damage, liquid indicators, and the condition of the charging port. Photos are useful when a device arrives with pre-existing damage.
- Battery and charging: Check battery health, charge retention, charging behavior, and unusual heat. A phone that charges slowly or becomes hot may need a battery, port, cable, or board inspection.
- Display and touch: Inspect the glass, brightness, color uniformity, pixels, and touch response. Drag across the entire screen to find dead zones that are easy to miss during normal use.
- Cameras and biometrics: Test the front camera, rear camera, flash, Face ID, fingerprint reader, and any available telephoto or ultra-wide lens. Confirm focus, exposure, video, and secure enrollment where supported.
- Audio, buttons, and vibration: Test the earpiece, bottom speaker, microphones, volume controls, power button, mute or action button, and vibration motor. Audio faults often appear only during a call or recording.
- Connectivity and sensors: Check Wi-Fi, Bluetooth, NFC, GPS, proximity, gyroscope, and other motion or environmental sensors supported by the device. Stable connections and accurate sensor readings matter for both daily use and resale.
- Report and final quality control: Save pass, fail, and attention-needed results. After a repair, run the failed tests again so the final report shows what changed.
How diagnostics help reduce returns
Returns often happen when a device is repaired or sold without a complete record of its condition. A customer may notice a speaker problem after a screen replacement, or a buyer may discover that the phone’s battery performance does not match the description. A diagnostic report helps separate pre-existing issues from new concerns.
When technicians test before and after service, the shop can show that the repaired component passed its final check. That evidence supports better customer conversations and reduces disputes about whether a fault was present at intake. For refurbishers, a report can also support grading decisions and make listings more accurate.
How to speed up testing without cutting corners
Speed comes from standardization, not from skipping checks. Start with the same intake sequence on every device, then group similar tests together. For example, check the display and touch together, followed by cameras, audio, buttons, connectivity, and sensors. This reduces the time lost switching between tools and screens.
- Use a checklist that technicians can follow in the same order.
- Use batch testing when several devices arrive together.
- Record pass and fail results immediately instead of relying on memory.
- Flag failed components so the repair queue can be prioritized.
- Retest only the affected areas after repair, then complete a final quality-control pass.
- Attach labels or reports to the device record before it moves to pickup or resale.
With the right Phone diagnostics software, managers can review results across a team and identify repeated failures, training gaps, or device models that create more returns.
What a useful diagnostic report should include
A professional report should be clear enough for a technician, manager, and customer to understand. Include the device model, serial or inventory reference, test date, technician or station, overall status, failed components, notes about physical condition, and the result of any retest.
Use plain labels such as Pass, Attention Needed, and Fail. Add a short note when a result depends on the device model—for example, NFC or a telephoto camera may not be available on every phone. If the phone is being prepared for resale, keep the report with the inventory record so the condition can be verified later.
Where Phone Clinix fits into the workflow
Phone Clinix brings common hardware and software checks into one organized diagnostic workflow for repair shops, refurbishers, retailers, and quality-assurance teams. The platform is designed to help teams test connectivity, display components, cameras, buttons, vibration, Face ID, motion sensors, speakers, microphones, NFC, and GPS.
Explore the full Phone Clinix diagnostic features to see the available testing areas. If your team is building an intake process, the 25-point phone diagnostic checklist is another useful reference for organizing device checks before buying, selling, or repairing a used smartphone.
Final thoughts
Phone diagnostics for repair shops turn a vague complaint into a documented set of results. They help technicians find hidden issues earlier, help managers maintain consistent quality control, and help customers understand what was tested and repaired.
When every device follows the same process, your team can work faster without sacrificing accuracy. Test the important components, save the evidence, and use the results to make better repair, pricing, resale, and customer-service decisions.