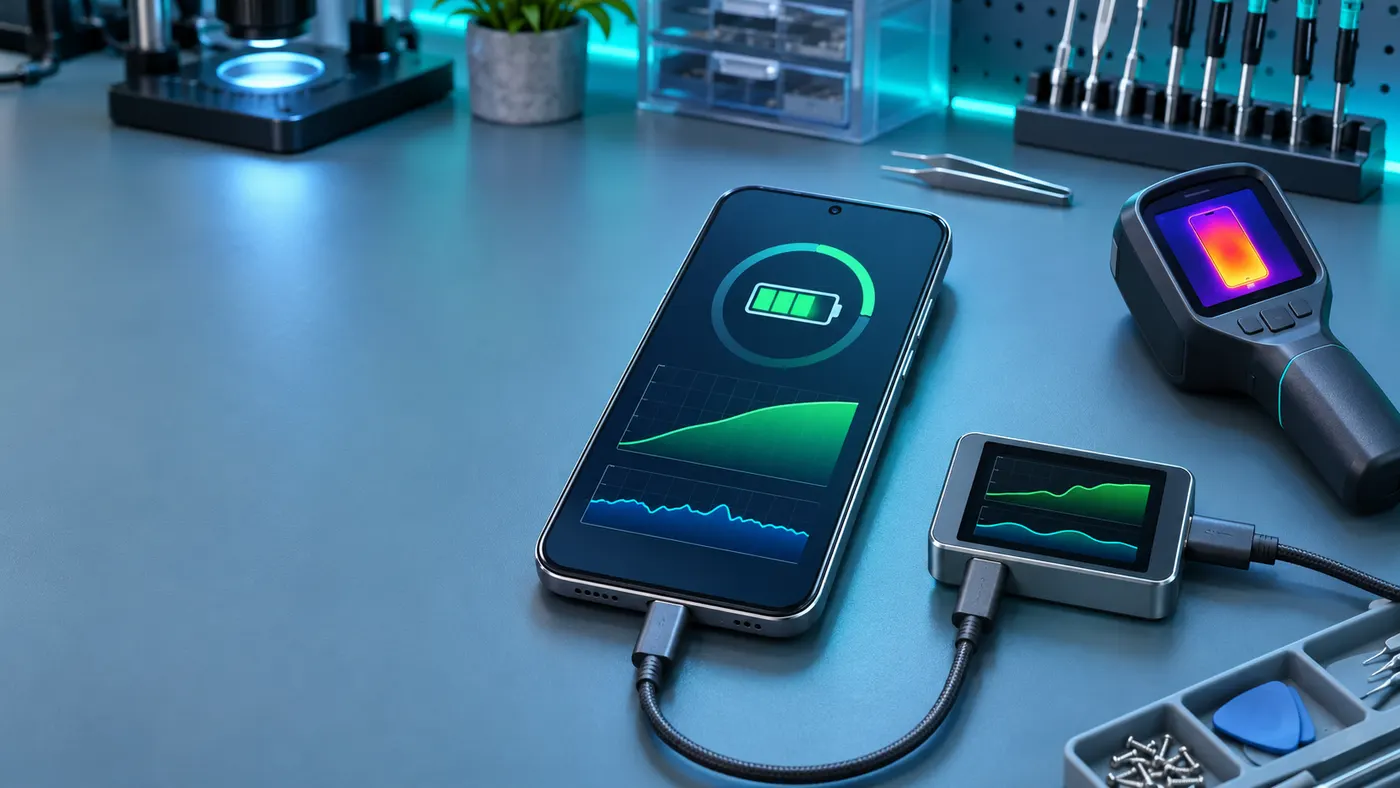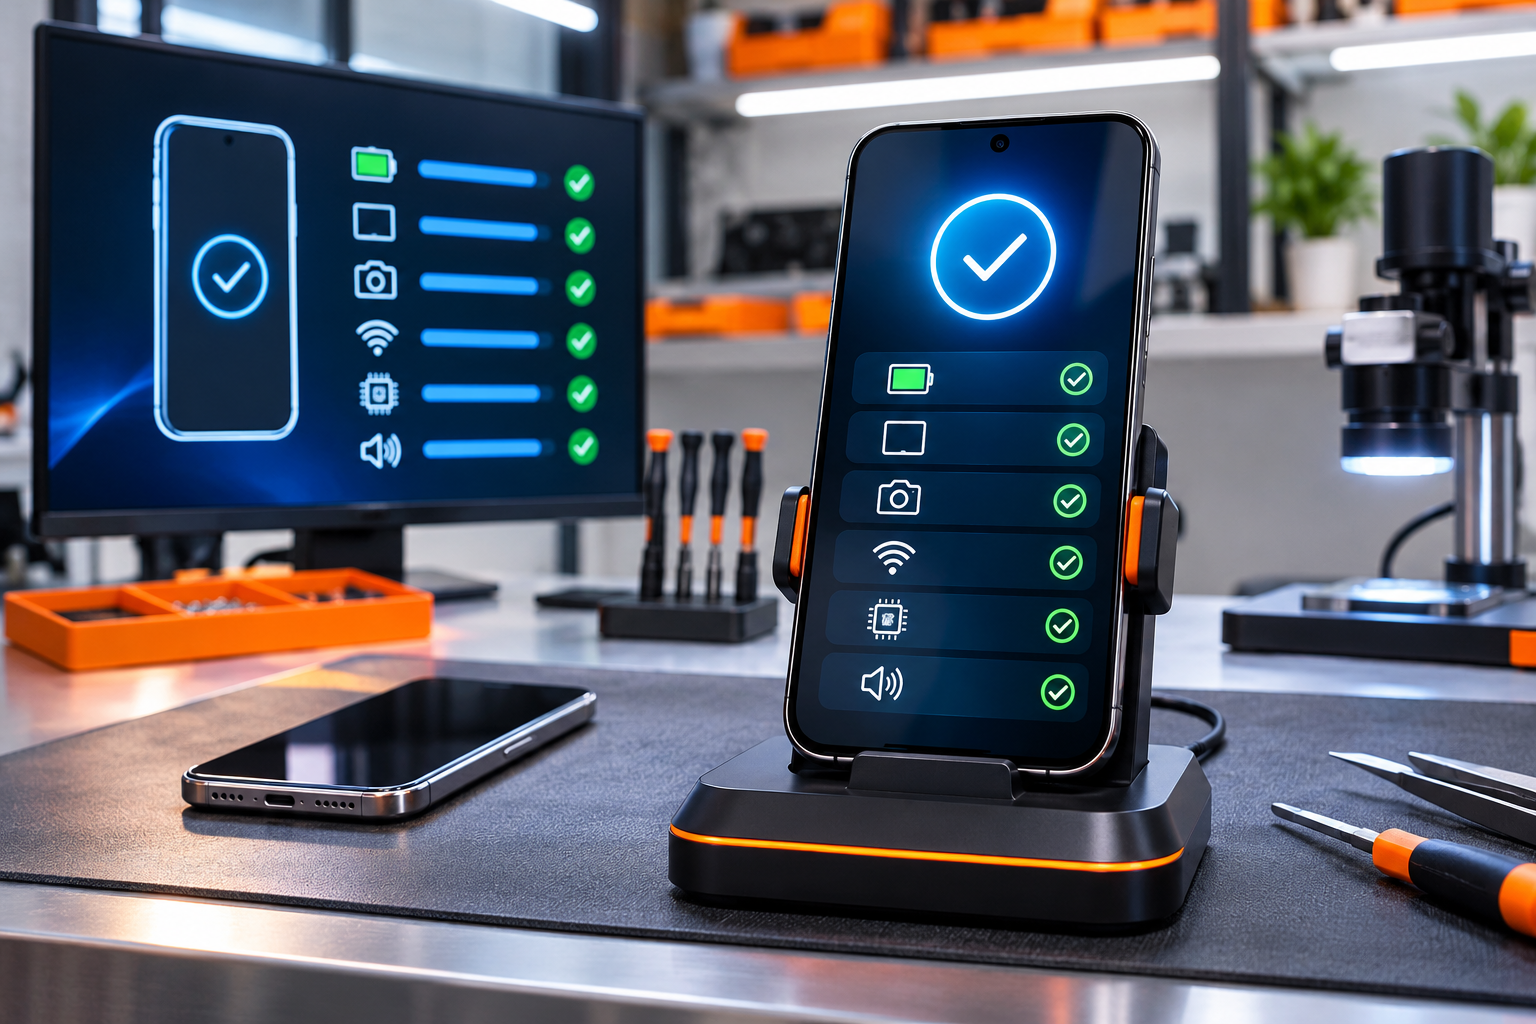
Phone diagnostics software gives repair shops, refurbishers, and resellers a repeatable way to find problems that a quick visual inspection can miss. Battery and charging faults are especially easy to overlook: a device may boot normally, show a high percentage, and still lose power quickly or charge inconsistently. A structured battery check turns those symptoms into evidence your team can act on.
This guide explains nine practical battery tests to run before repair, resale, or handoff. Use the results to separate a weak battery from a damaged port, an unreliable cable, a background-software issue, or a deeper power-management fault.
Why battery testing needs more than a percentage
The battery icon is only one data point. It does not tell you how quickly a phone accepts power, whether the connection is stable, how much energy the device loses while idle, or how hot it becomes under load. Those details matter when a customer reports fast drain, slow charging, unexpected shutdowns, or a phone that feels warm in normal use.
For a repair shop, a repeatable process also protects the business. A pre-repair record gives technicians a baseline, while a post-repair test shows whether the device behaves as expected. That makes customer conversations clearer and reduces avoidable returns.
9 phone battery diagnostics tests for repair shops
1. Record battery health and capacity
Start with the device’s reported health, maximum capacity, cycle information, and current charge level when those readings are available. Record the result with the device identifier and intake time. A low capacity reading can explain short runtime, but it should be compared with the other tests before you recommend replacement.
2. Check the charging port and connection
Inspect the port for lint, bent contacts, corrosion, or looseness, then connect a known-good cable. Confirm that charging starts promptly and remains active when the phone is moved gently. Intermittent charging often points to a port or cable problem rather than the battery itself.
3. Measure charging speed and stability
Use a compatible charger and monitor how the charge level changes over a defined test window. Note whether the phone pauses, repeatedly reconnects, or slows much earlier than expected. Compare like-for-like setups, because charger type, cable quality, temperature, and the device’s current workload can all change the result.
4. Watch temperature during charging
Temperature is a useful warning signal when paired with other evidence. Observe the device during charging and during a short, repeatable workload. Unusual heat, especially alongside slow charging or rapid drain, deserves a closer inspection. Do not continue a test if the device shows signs of swelling, damage, smoke, or a strong chemical odor.
5. Test idle drain
Charge the phone to a consistent starting point, leave it idle with the same connectivity settings, and record the percentage after a fixed period. Excessive idle loss can indicate battery wear, a background app, poor cellular reception, or a software configuration issue. The result is most useful when Wi-Fi, Bluetooth, and other radios are documented rather than changed randomly.
6. Compare performance under a controlled load
Run a repeatable workload that uses the display, processor, audio, and network connection. Record the starting charge, test duration, temperature trend, and ending charge. A battery that drops sharply only under load may be reaching the end of its useful life, but the same symptom can also expose a demanding app or a signal problem.
7. Check boot, restart, and shutdown behavior
Test a normal boot, a restart, and a shutdown from a known charge level. Watch for repeated restart loops, sudden power loss, a phone that reports an inaccurate percentage, or a device that will not start without a charger. These symptoms help technicians distinguish battery delivery problems from broader power or board faults.
8. Inspect for swelling or physical damage
Look for a lifted screen, gaps around the frame, a distorted back cover, liquid indicators, or impact damage. Never press, puncture, bend, or continue charging a visibly swollen battery. Isolate the device according to your shop’s safety procedure and refer it for appropriate handling. Software results should support a physical inspection, not replace it.
9. Retest after repair and save the report
Repeat the relevant charging, drain, temperature, and boot checks after a battery or port repair. Save the before-and-after results so the technician and customer can see what changed. A dated report is also useful for quality assurance, warranty questions, and resale records.
Build a faster battery workflow
A practical intake workflow starts with the device identifier, visible condition, charge level, and customer complaint. Next, run the same battery tests in the same order, using consistent cables and chargers. If a result is abnormal, add a focused follow-up test instead of repeating the entire process without a hypothesis.
Phone Clinix is designed for multi-point smartphone testing across hardware and software. Its feature set includes display checks, cameras, buttons, sensors, speakers, microphones, Wi-Fi, Bluetooth, NFC, GPS, and Face ID. For teams handling volume, batch testing and automated reports can make it easier to compare devices and create a clear handoff record. See the full Phone Clinix diagnostic feature list to match the workflow to your shop.
When should you recommend a battery replacement?
Recommend the next step from the pattern of evidence, not from one reading. A low health result plus rapid drain, charging instability, and unexpected shutdowns is a stronger replacement case than a low percentage alone. If battery health looks normal but charging is intermittent, inspect the cable and port first. If the battery passes controlled tests but an app causes drain, investigate software before opening the device.
Always document the reason for the recommendation, the tests performed, and any limitation in the test conditions. Clear notes help customers understand the decision and give your team a consistent standard for future devices.
Final takeaway
Reliable phone battery diagnostics combine health data, charging behavior, temperature, idle drain, load performance, physical inspection, and a post-repair retest. A repeatable process helps repair shops find hidden faults sooner, reduce disputed returns, and deliver devices with a clearer record of what was checked. Use the nine-test workflow above as a baseline, then tailor the report to the phones and repair types your team handles most often.