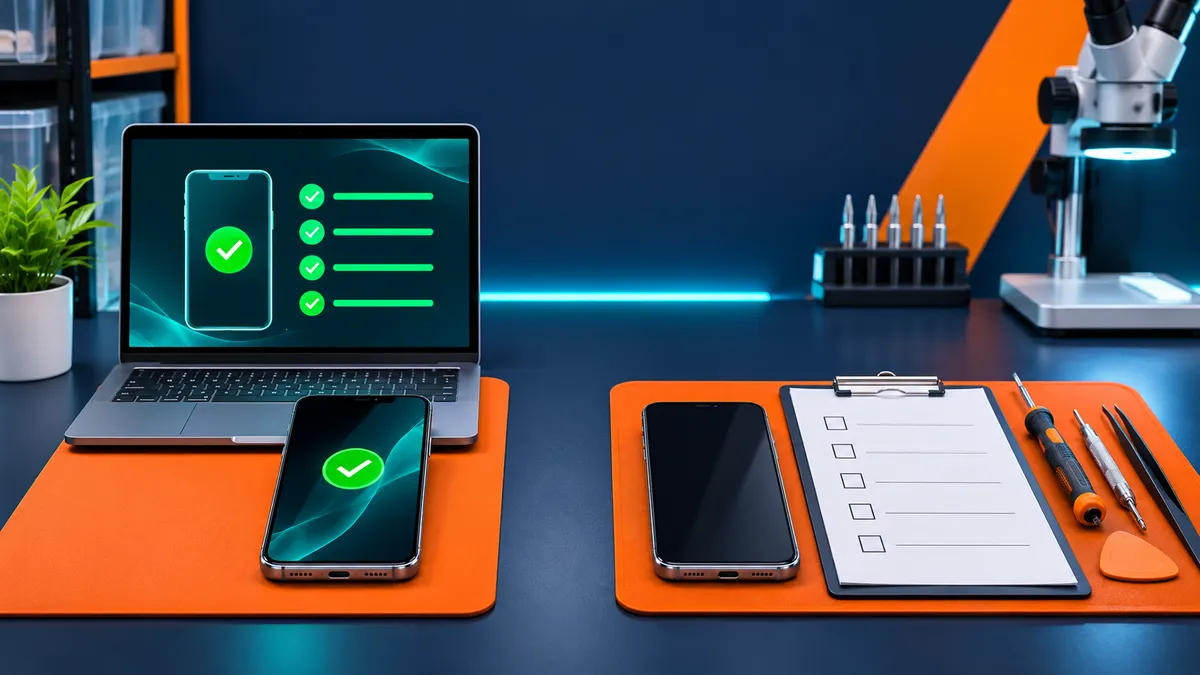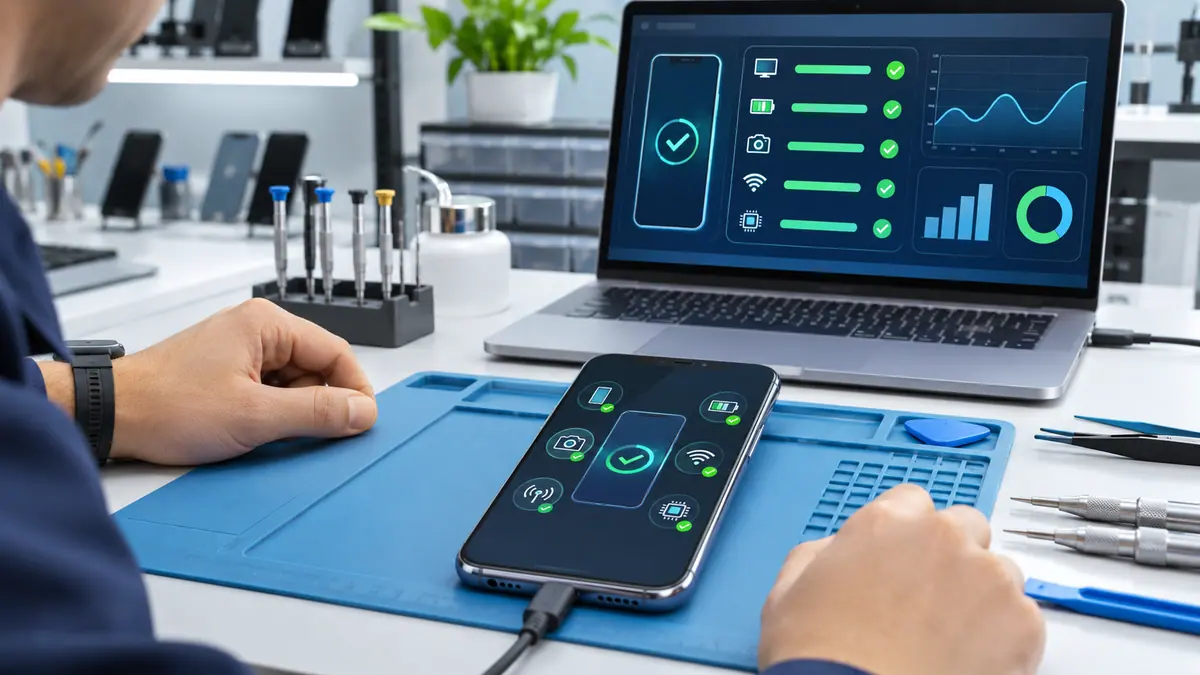
Phone diagnostics software gives refurbishers a consistent way to test, grade, and document smartphones before they return to inventory. A device can look excellent on the outside while still having weak battery performance, a dead touch zone, an unreliable microphone, or a connectivity fault that only appears under specific conditions.
For teams preparing used phones for resale, the goal is not simply to label a device as good or bad. The goal is to identify its actual condition, separate repairable issues from normal wear, and create evidence that supports an accurate grade. This ten-step workflow shows how to build a faster, more reliable process.
Why refurbishers need a repeatable grading process
Refurbishment involves more than replacing a cracked screen or wiping user data. Every device needs a consistent intake, testing, repair, and final-check process. Without a standard, one phone may receive a detailed inspection while another is approved after a quick visual review. That inconsistency can lead to inaccurate listings, avoidable returns, and time-consuming disputes.
A documented device grading workflow gives technicians the same sequence to follow on every phone. It also gives managers a clear quality-control record and helps customers understand what was tested before purchase.
10 steps for a better phone refurbishment workflow
1. Record the device identity
Start by recording the model, storage capacity, serial number or inventory reference, color, and operating-system version. If the phone is being processed in batches, connect the test record to the correct inventory item before testing begins. A reliable identifier prevents reports from being attached to the wrong device later.
2. Photograph the physical condition
Capture the front, back, frame, camera glass, charging port, and any visible damage. Note cracks, dents, gaps, lifted screens, discoloration, liquid indicators, and missing parts. Photos create a useful before-and-after record and help the team distinguish pre-existing cosmetic wear from damage that occurs during handling.
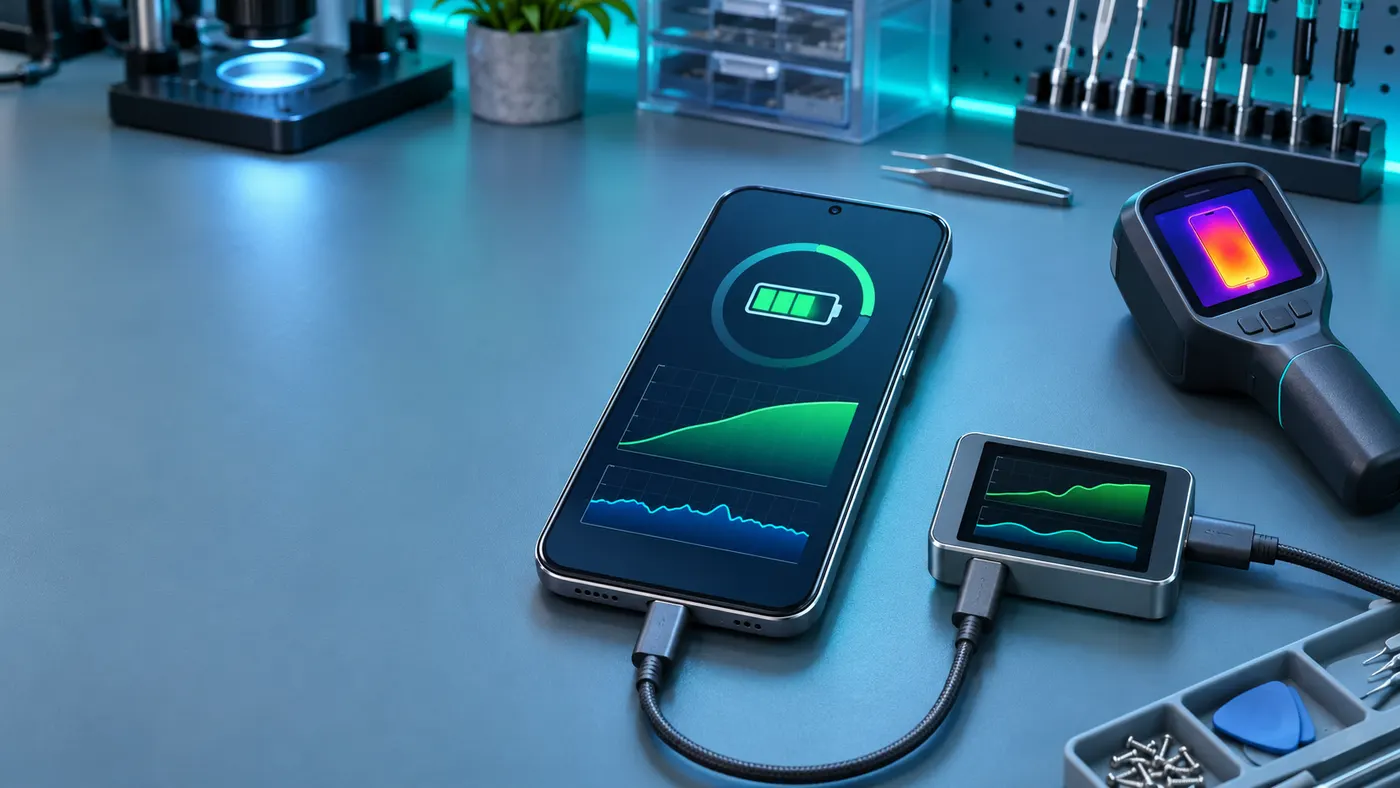
3. Check battery health and charging
Record the reported battery health and charge level, then test the phone with a known-good charger and cable. Check whether charging begins promptly, remains stable, and produces unusual heat. A phone may show a high percentage while still losing power quickly, shutting down unexpectedly, or charging intermittently.
Battery results should be considered with the rest of the evidence. A weak battery reading supports a replacement decision, but slow charging may instead point to a cable, port, or board issue.
4. Test the display and touch response
Inspect brightness, color consistency, glass condition, pixels, and touch response across the entire screen. Run a finger or test pattern through the corners and edges to find dead zones. Also check auto-brightness and screen rotation where supported. Small touch failures are easy to miss during a quick setup but can affect the phone’s resale grade.
5. Verify cameras and biometrics
Test the front and rear cameras, flash, focus, exposure, video recording, and any telephoto or ultra-wide lens. Check Face ID or fingerprint recognition when the model supports it. A camera that opens successfully may still have focus, stabilization, lens, or image-quality problems, so each available function should be recorded separately.
6. Check audio, buttons, and vibration
Use a controlled sequence to test the earpiece, loudspeaker, microphones, volume controls, power button, mute or action button, and vibration motor. Microphone faults may appear only during a recording or call, while speaker distortion can be more noticeable at higher volume. Record a pass, attention-needed, or fail result instead of relying on a general impression.
7. Confirm wireless connectivity and sensors
Test Wi-Fi, Bluetooth, NFC, GPS, proximity, gyroscope, accelerometer, and other supported sensors. Connectivity should be checked with a known network or accessory where possible. Sensor checks are especially important after drops, liquid exposure, or screen repairs because a phone can appear normal while reporting inaccurate motion or proximity data.
8. Review software and security status
Confirm that the phone boots normally, responds without repeated crashes, and is ready for the intended reset or handoff process. Verify that the device is not activation-locked and that the previous user account has been removed according to your approved procedure. Do not treat a successful factory reset as proof that every hardware component works.
9. Assign a condition grade from evidence
Use the test results and photographs to assign a grade that your sales team can explain. Define what each grade means for cosmetic wear, battery performance, display quality, camera function, connectivity, and included accessories. A consistent grading rubric prevents different technicians from using the same grade for noticeably different conditions.
10. Run final quality control and save the report
After repairs, repeat every failed or attention-needed test and complete a final boot, charging, connectivity, and data-wipe check. Save the before-and-after results with the device record. Automated diagnostic reports make this handoff easier because the next technician, manager, or customer can see exactly what was checked and when.
What to include in a refurbisher’s diagnostic report
A useful report should identify the device, test date, station or technician, overall result, failed components, physical notes, and retest outcome. Use plain labels such as Pass, Attention Needed, and Fail. If a feature is unavailable on a particular model, mark it as Not Supported instead of leaving the result blank.
Keep cosmetic observations separate from functional results. A phone with light frame wear may pass every hardware test, while a clean-looking phone may fail its microphone or battery check. Separating those categories makes pricing and customer communication more accurate.
How Phone Clinix fits into the process
Phone Clinix brings common smartphone checks into one organized workflow for repair shops, refurbishers, retailers, and quality-assurance teams. The platform supports multi-point testing across displays, cameras, buttons, sensors, speakers, microphones, vibration, Wi-Fi, Bluetooth, NFC, GPS, and Face ID. Batch testing can help high-volume teams move through several devices more efficiently, while reports and labels make the results easier to track.
Review the full Phone Clinix diagnostic feature list to match the available test areas to your grading rubric. Teams can then standardize the checks they run on every model and add model-specific tests when a device has unique hardware.
Common refurbishment mistakes to avoid
- Approving a phone after checking only that it powers on.
- Skipping the intake record or final retest after a repair.
- Assigning a grade without a written definition.
Final takeaway
A reliable refurbishment workflow combines physical inspection, functional checks, consistent grading rules, and clear reports. This process helps teams find hidden issues sooner, price devices accurately, reduce returns, and give customers stronger proof of condition.